Getting Started with HTML
There are alot of ways you can make a html page. You can either use a site the allows you to make pages with html and put then online. If you dont know a site you want use FREETZI. If you want to just make a page with html on your computer thats not online or to practice with you can use notepad or wordpad.
When you start up any HTML document you want to put <html> at the top of the page, and </html> at the bottom.
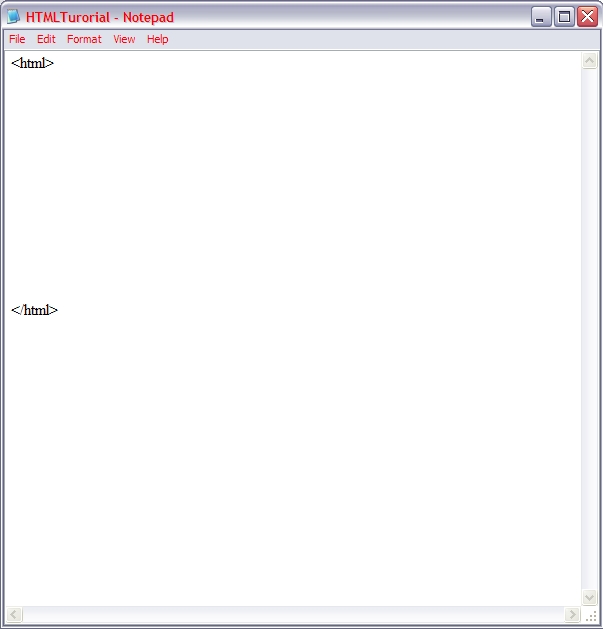
Your html document should look like this.
When you save your document you want to save your file ending with .html, which saves it into a html document. E.X. Myfile.html
To open up your html document with the internet to see what your html page will look like just find your html file where ever you saved it. Then double click it.
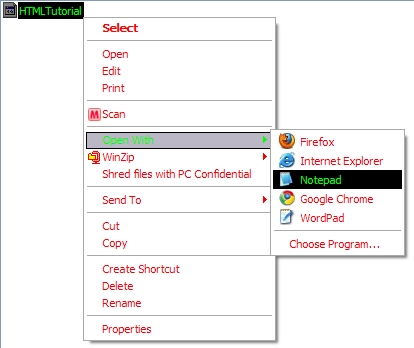
To open your html document so you can edit it you must right click it instead of left clicking, and a menu will pop up. Then from the menu go to Open with<<notepad. or wordpad, ect.
When you want to do something in html you use commands. <Command> When you add that your command is now active at every point after the command to the end of the page. To end a command you add </Command>, its usually just your opening command with a backslash / infront. Make sure whats in the Angle Brackets< > is the same in your opening command, and your closing command.
To Title your page put <Title>Title Name</Title> somewhere in your document. I usually just put at top, right under <html>.
Title is What you see at the top of your internet browser and on the tab bar.
NOTE: You can have any kind of capitals when you are making a command. It could be <title>, <TITLE>, <TiTlE>, it doesn't matter.
Working with Pictures
To put a picture on a page you can do this <img src="http://link you found picture">, It should end it like .jpg, or .gif, ect..
Heres a Example <img src="dwb.ueuo.com/Matrix.jpg">

This is the picture in its original form.
To Change picture size you would add this.
<img src="http://link you found picture" width="300" height="300">
Heres a Example <img src="images/Matrix.jpg" width="300" height="300">
Pretty simple After file you add width="size#" height="size#" The bigger width is the bigger it is from left to right, and the bigger the height is it gets bigger up and down.
To add a border to a picture you add this.
<img src="http://link you found picture" width="300" height="300" BORDER=3 BORDERCOLOR=RED >
Heres a Example <img src="Matrix.jpg" width="300" height="300" BORDER=3 BORDERCOLOR=RED >
Pretty simple After file you add border=Size# The bigger the number the wider the border around the picture is, and for BORDERCOLOR=AnyColor
Make a Image a Clickable Link
To make a Image so you can click it and it will redirect you to another site or page you would add these statements.
<A href="Link Sent To"><IMG SRC="Link of Image"></A>

Image Mapping
To make a image map you first need to add a image.
<img src="Picture link" width="Width Size" height="Height Size" alt="Picture Name" usemap="#Map Name" />
You can see at the end I added alt="Picture Name" usemap="#Map Name". I added alt="Picture Name" so you can easily refer back to any image.
I added usemap="#Map Name" because that makes a picture into the map.
You can see I have width="Width Size" height="Height Size" because it is very, very useful to set a picture to a specific size so then you know exactly what the size is.
This makes it a lot easier when setting coordinates.
Next you should add <map name="Map Name">
This statement says that this is where we are going to start to work on our Image Map.
Then after that just add </map>
This statement simply says this is where our Image map ends.
So all the code between those two statements will go into making your Image Map.
Every clickable shape you want to add on your picture you should have something similar to this.
<area shape="shape" coords="number 1,number 2,number 3, ect." href="Link to Picture" alt="Picture1 Name" />
Now to break all that down.
area shape="shape"
This states what shape you are trying to make on the Image Map.
You can make a Rectangle by adding rect in between the " "(QuotationMarks)
You can make a Circle by adding circle in between the " "(QuotationMarks)
You can make a Polygon(Polygon can be Triangle, Pentagon, Hexagon, Octagon, ect.) by adding poly in between the " "(QuotationMarks)
coords="number 1,number 2,number 3, ect."
This states where you are going to put your shape on the Image Map
There are different kinds of coordinates for each shape.
For a rectangle You have 4 Coordinates X1,Y1,X2,Y2.(X is Horizontal (Left to right), Y is Verticle(Up and Down))
X1 & Y1 are coordinates for the top left corner. While X2 & Y2 are coordinates for the bottom right corner.
For a circle You have 3 Coordinates X1,Y1, Radius.
X1 & Y1 are coordinates for the center of the circle. While radius are coordinates for how far the circle will go out from the center point.

For a Polygon You have Any evenamount Coordinates X1,Y1,X2,Y2,X3,Y3, ect..
For a Polygon you can enter any amount of X,Y coordinents, Make sure you have same amount of X,Y coordinates, and they are in order.
Every single X,Y coordinate makes a point on your picture, after all your points are made, this statement connects them and then makes area between all the points the clickable area.
Then you simply add the statement that will load the page you want everyone to be directed to when they click your shapes coordinent.
href="Put Link Here"
Then you add this statement. It is very simple and just makes it easier for you to refer back to your link.
alt="Picture1 Name"
Then you just finish this whole statement with /> to rap everything up.
Here is my Example.

